
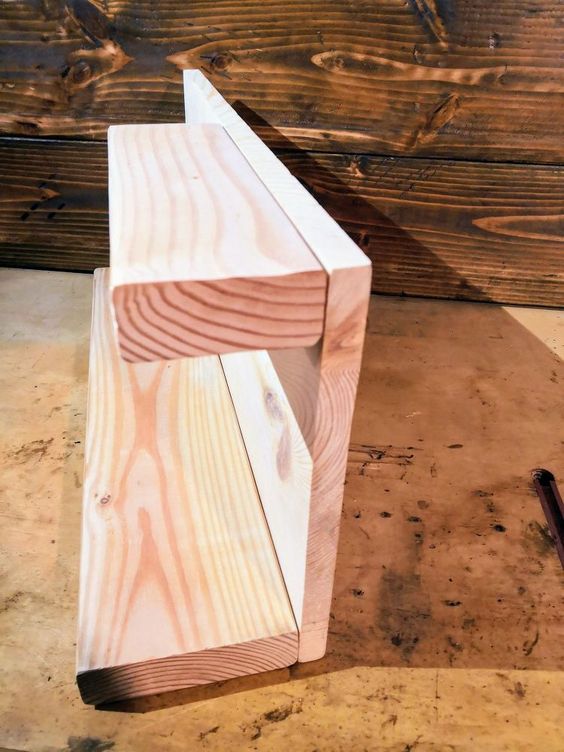


Next, take one of your 2×4″ pieces, put glue on one of the edges, and place it on one of the top corners of your 1×12″. Nail or screw it in place from the backside.


Then, measure 3″ from the top of your 1×12″ and draw a horizontal line marking your measurement. This is where you will be placing your second 2×4″ piece.

Put glue on one edge of your 2×4″ and place the top of it in line with the line you drew at 3″ from the top of your 1×12″ board. Nail or screw it in place from the backside.


Add stain or paint if you’d like and let dry over night. Once it’s dry, add polyurethane or another finishing oil if you want a shinier look.

On the back of your shelf, take two key hole hangers, make sure they are level, and screw them in. For my shelf, I placed them 3″ down from the top of the shelf, and 4″ from each side of the shelf.

Use a drill bit that will fit inside your keyhole hanger to carve out the wood so you can hang your shelf. Make sure not to drill all the way through to the other side! A 1/4″ should be fine.
Your shelf should now be ready to hang!

Add an optional bar to the bottom of your 2×6″ if you would like to hang towels or kitchen utensils. I used an 18″ bar that I had laying around from IKEA.

