
DIY Desk Makeover – How to Paint Laminate
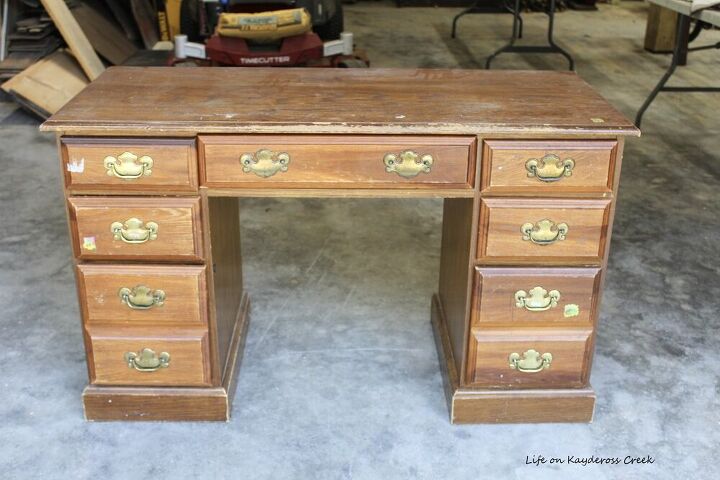

Where to begin when painting laminate furniture…
- Cleaning
I started like I do on all my furniture makeovers and I gave it a good cleaning inside and out. Luckily there were no yucky smells! There were some stickers stuck to the outside in quite a few places and I used Goo Gone to remove those. If you’ve never used it, the stuff is amazing.
I vacuumed the inside and then wiped everything down with water and a bit of dish soap just to get the grease/grime off.

2. Prep for painting.
In order to get the surface ready for paint, I broke out the palm sander with a 150 grit sand paper and started working on the top. I really only wanted to take off the shine a bit so I could prime it but I discovered that the top part was wood or at least a thin layer of it which was enough to stain! I was super excited!

Then I sanded the body of the desk, again, just to remove the shine and prep it for primer so it had something to stick to. When you are painting laminate furniture, it’s super important to use primer.

3. Paint.
Once the primer was thoroughly dry, I painted the first coat of red paint. Don’t worry, it won’t be that bright. I have a plan.

Here comes the fun part, I wanted the piece to feel more aged so I used antique wax from Country Chic Paint. I had used this before on my antique cabinet makeover and I loved it! You can see how it darkens the paint and gives it a more aged/antique feel here…

4. Change out the pulls.
The original pulls on the desk were not the industrial kind of style I wanted and some of them were broken so I changed them out. Unfortunately, the holes were only 2.5 inches apart and, fun fact, the standard drawer pull is 3 inches.

Here it is all done. I love the way it came out!!
Fore more details of this makeover and more furniture flips and DIY projects stop over at the blog at www.mylifeonkayderosscreek.com
