Colorful Dresser Makeover

Trending videos

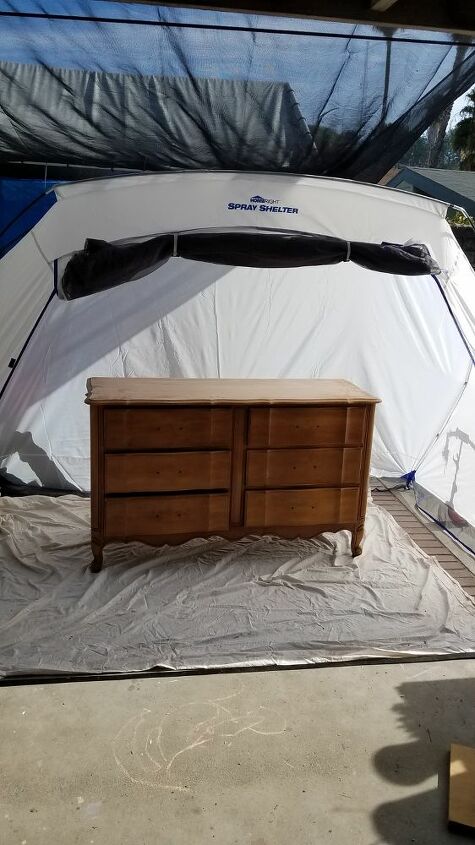
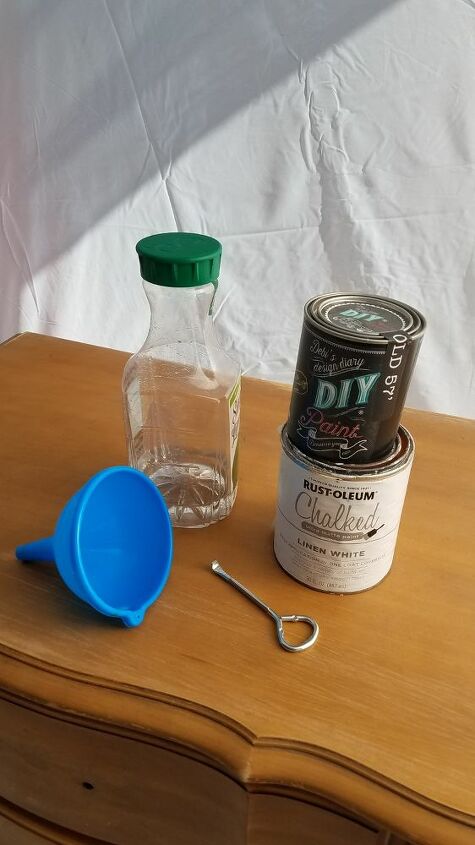
With this piece I decided to start with a pretty aqua blue base coat. I prepared my paint for the sprayer by mixing the colors first and then diluting it with about 1 part water to 5 parts paint. The amount of water you use will depend on the thickness of the paint and also the sprayer you’re using. A good tip is to always start with less water and test it in your sprayer. If it doesn’t spray right you can always pour it back out and add a little more water to your mix. If it’s too watery your paint won’t cover as well and you might get a lot of drips. I use a HVLP sprayer.

Even though there is already a small filter in the sprayer I always use a cone filter when loading my paint to keep out any little chunks that might be in the mixture.

Time to spray! Once you get a good feel for your sprayer it’s so easy and the finish you can achieve is nearly flawless. I like to do several light coats over the entire piece, letting each coat dry in between. Try and move at a stead even pace while keeping the spray gun the same distance away from the piece as much as possible for nice even coats.

I loved this base color so much that I ALMOST decided to leave it as is but I quickly changes my mind and decided to have some fun with it and add some more color and texture. Spraying is a great way to get your name coat on quickly and smooth instead of painting it on by hand with a brush, especially on a larger piece.

I started layering in different colors one by one over the entire piece. For this technique it’s very important to have a spray bottle with water on hand to help blend the colors. I use a fine mister and it works GREAT.

Here it is after adding and blending some green!

Next I added some coral and lilac!

Once I was happy with the colors I moved on to my metallics. I decided to use both copper and gold on this piece. I usually always add my metallics as the last step before distressing and sealing. I tend to use them on the high points and also on the corners and grooves of a piece to bring out all the details.

After adding metallics and lighty distressing I added clear wax to the entire piece. I usually wait until the next morning and then buff it out for an amazing sheen and beautiful finish. If the piece you’re working on will get a lot of use or you want a more durable sealer you can also spray or brush on a coat or two of polyurethane or poly acrylic.

Sometimes I leave the hardware on a piece while I paint it if that’s the look I want to achieve, but I decided to remove them and paint them separately here. When I was spraying my blue base coat, I also lightly sprayed all of the handles as well but made sure I didn’t coat the entire surface. After the blue was dry I went in with a small artist’s brush and added the same gold and copper that I used on the piece. I love how they tie in but still stand out on their own.

Her she is, all finished and staged!! Please check out my Instagram for more painted furniture and DIY projects and thanks for stopping by and checking out my dresser makeover!
