
Cheap Remodeled Laundry Room

Then I repainted my walls to get that fresh look

Next were going to do that gorgeous shelf above the washer and dryer.Make sure to measure out your pieces of wood and cut them to match wall to wall in your space.I used 3 pieces that were 9″ x 67″Then I sanded all three pieces and stained them. I like a oak finish mixed with farmhouse brown but it’s totally to your liking.

Now that my pieces are sanded and stained I finished it with a finishing no scratch spray ( watco Crystal clear lacquer protection spray)And let it dry for about 30 minIf you love the way mine came out the materials I used were:• craftsmart premium barn wood brown wax• watco Crystal clear lacquer protection spray

While we wait for the big shelf to dry I decided another small shelf would add more options for organizing lolAnd of course I’m staining it myself lolSo do the same, sand,stain and let dryAnd for the hardware I didn’t like the chrome so I spray painted it matte white

I attached the hardware and hung it up

So that was day one, day two I started by putting up these gorgeous tangerine wall decalsI got these on Amazon for only $12. I needed two bundles to fill my wall

After I finished with the wall decals. I prepped for the shelf above the washer and dryer. I used 1×2 for the support and placed one on each wall.Start by drilling holes so you don’t crack the wood when u screw them into the wall

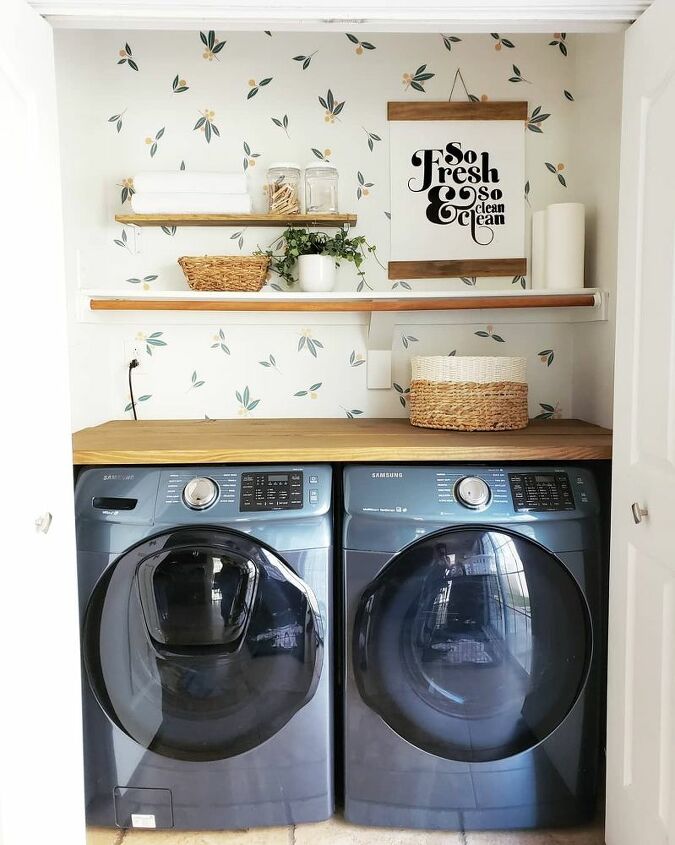
Measure from the bottom of the floor and up. Use a leveler to make sure your straight.Tip: I put one piece of wood on top to make sure It was straight and leveled before glueing everything together👍

I finished placing the remaining wall decals and used wood glue to keep the pieces together and I was all done. 🙌The wall art was also a diy of mine, if you want to know how to do it check out my other projects