
CD Case Greenhouse
Trending videos

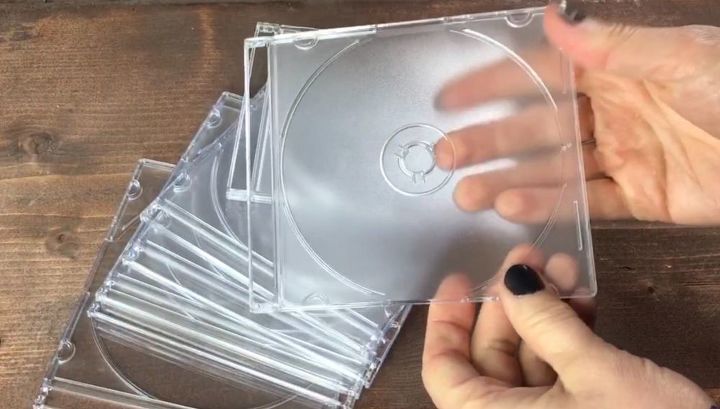
For the ends:
A-I used 4 of the front, clear pieces.
B-Using E6000
C-I glued the edges together (in red)
D-And taped together using painter’s tape
I made two panels of 4 so I had two ends of 4 clear pieces And allowed them to dry at least 24 hours.

Once the walls were dry, I glued them together along the edges (in red). I used painter’s tape again to hold them together as they dried for 24 hours.
And now the tweeking of this project begins.
Once everything was dry, the greenhouse was very wobbly. I knew that it wouldn’t support it’s roof so I measure the floor of the greenhouse and cut a piece of 1/2” plywood and placed it in the bottom. This gave it some stability.

For the roof, according to my instructions on Pinterest, I was to use three CD cases; however, it was not long enough so I used four.
A- Using full CDs (not broken apart)
B-I placed four CDs beside each other and only glued the top parts together (in red). I made two sets of four CDs for either side of the roof.
C-Once they were dry, I glued the two sets together at the peak of the roof.
Taped and allowed to dry at least 24 hours.

For each side, at the top of the walls, my instructions from Pinterest said to make a triangle shape out of two additional CDs cutting them to fit. This is the result.
After gluing and taping, and gluing and taping again, they wouldn’t adhere to each other and kept falling off of the top of the wall. They were also very unstable and wouldn’t hold the roof.

I discarded the triangle shapes and decided to make a support for the roof.
A-Using square dowels, I decided on the pitch
B-and cut the dowels using my miter saw
C-I glued and stapled the ends together
D-For additional support, I added another down to the middle of the side attaching it to the top and the sides of the greenhouse.

For the triangle tops of the sides,
A-I used the clear part of the CD case
B-Measured and marked it to fit the space
C-Cut it using a utility knife
D-and glued and taped it to the wooden dowel
I continued to mark and cut pieces to fit the entire triangular space

Once everything was dry, I placed the roof on top of the supports. I didn’t glue it, just laid the roof on top that way I can remove it to add plants.
While it still sags in the middle, it is functional.

I like the fact that I can lift the bottom flaps of the roof to reach the plants inside and for ventilation.
So in conclusion, while the CD case greenhouse didn’t turn out the way it was “as seen on Pinterest”, it is functional with the alterations. And as every DIYer knows, sometimes you have to tweek your project to make it work.