
STEP 1: Fill in stencil First, Rob cut me a slab of chalkboard using a table saw that would fit perfectly on the inside of our spice cabinet. *Note: If you don’t have a table saw, you should be able to have the chalkboard cut at Home Depot. Then I took a piece of transfer tape the same size as the stencil I created with my Silhouette machine, and adhered it to the front of the stencil. After that, I laid the stencil down on the top of my piece of chalkboard, made sure it was flat and had no bubbles, and removed the transfer paper. Once my stencil was secure, I traced inside the stencil using one-direction strokes with my paint pen.

*Note: I would not recommend going back over the stencil to make it darker as the paint will start looking streaky and will come off in places. I did this on the “K” in ‘kitchen’ and it started to look sloppy. I was thinking maybe it would look better if, after my paint pen dried, I went back over the whole stencil with chalk, but that didn’t do much so I just blew the chalk off once I removed the stencil.

Next, carefully remove the stencil. If you experience any bleeding, simply and carefully use the end of a needle or something else small and sharp to scratch off the paint.

STEP 2: Write in conversions I originally wanted to do my own design with white vinyl, but I decided to just create my own stencil, then write in my conversions. If you make any mistakes just use rubbing alcohol on a rag or cotton ball to “erase” your mistake.

STEP 3: Cut and apply double-sided tape Because Rob would have a fit if I permanently altered our kitchen cabinets, he suggested I use either Velcro or double-sided tape to attach the conversion chart to the inside of our cabinet. We ultimately decided on double-sided tape, as Velcro wouldn’t allow the chart to sit flush with the lip of the cabinet. For this step, I simply cut strips of the tape and stuck them to the boarder of the chart on the backside.

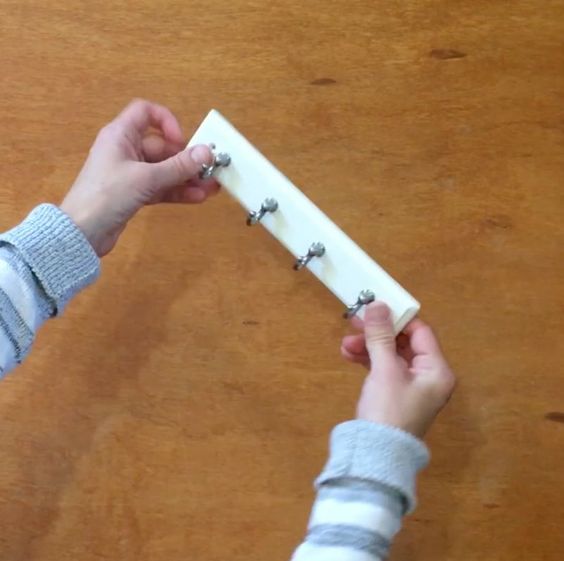
I also added a strip of tape to the back of the key rack.

Once I figured out how far up the key rack had to hang in order for my measuring spoons and cups to clear the bottom of the cabinet, I found that I needed to move my conversions up; so rather than “erasing” everything, I re-did the bottom half of conversions and wrote them a little smaller (I tend to write big.). Overall, I’m really happy with this project. Instead of looking up conversions for recipes I want to cut down, I simply open my cabinet and all the info I need is right there, along with my measuring spoons and cups!