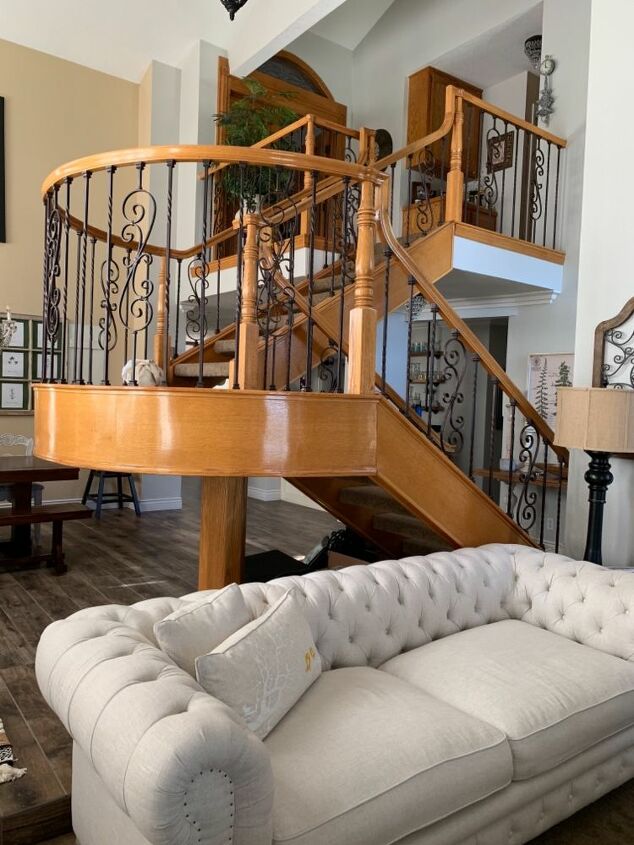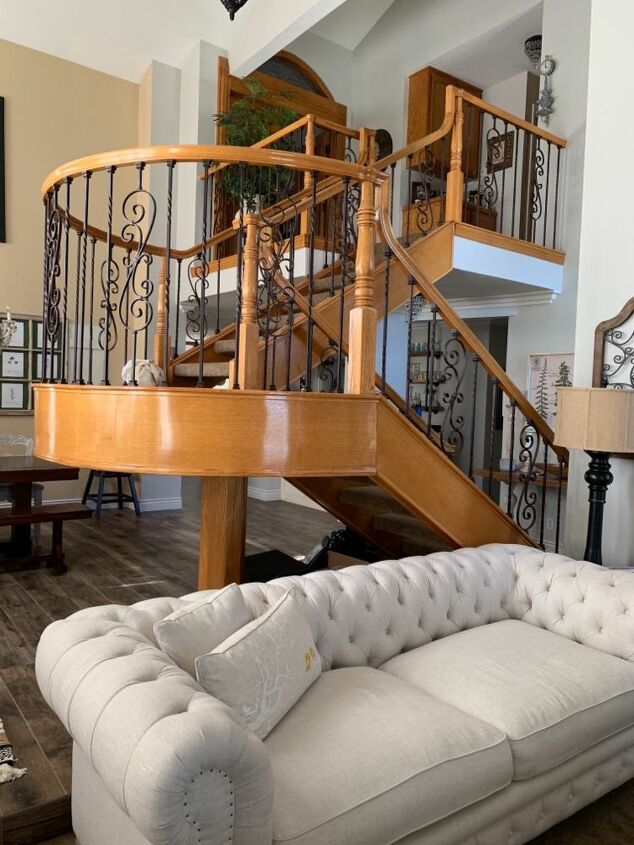
Lots of honey oak right and doesn’t it scream 😱 the 80s. As beautiful as we thought our staircase was, we never did get accustomed to all the orange. I think that most will agree that it needed an update. Little did I know that the project was going to take a lot longer than I expected and would require a lot of sanding. Initially I thought I’d sand off the existing stain on the entire staircase but decided against that. We opted to sand off the stain on the railing and the balusters but any part of the stairs that had veneer, we decided to paint over it. Thank God we did that because I started confusing my hands for sandpaper 😳 Seriously, our hands felt like sandpaper from all the sanding we were doing.
Trending videos

Can you see the raw wood? Once I saw this, I knew I would have to sand and stain instead of painting. We just loved the wood but knew our easy project would be turning into a bigger and messy project and that it would be taking a lot more time! The first thing we did was clean the staircase well, using TSP.

Using an orbital sander with a 60 and 80 grit was a lifesaver because the original polyurethane finish was so thick. The orbital sander was perfect for the top of the railing but not so much for the smaller areas and the nooks and crannies on the balusters.

After folding and shaping sandpaper into every possible shape that I could think of in order to sand those small spaces, we decided to purchase a detail sander. The detail sander was very helpful for those small tight spaces but still needed to use folded sand paper for even tighter spaces. I recommend getting one for projects like this.

My very close friend who also is a huge DIYer knew what I got myself into and took it upon herself to help me with the details. She loves wood working and I love painting and didn’t know what a dremel even was 😂 She thought it would make my sanding life easier AND it did! However, if you’re going to use it, make sure you don’t apply too much pressure because it will damage your wood and even chip it. I recommend using it just be gentle with the pressure you apply.

Look at the wood, 🥰 no more orange except for the areas that will be painted. I can’t stress how excited we were when we were at this point. No more living in a cloud of dust!!!

I chose to go with a rich and warm color, so I chose an oil based, Dark Walnut by Minwax. The smell was strong but it was so easy to work with and I used a sponge brush to apply it. I chose not to pre-condition the wood prior to staining because being that this is oak, the color wasn’t taking on a dark rich color with the conditioner. I tried a sample of it before making the final decision to not use the pre-conditioner.

I only applied one coat of stain because I liked the color it took on after the one coat and then allowed it to dry for 24 hours before applying the polyurethane finish.

Let me tell you, I was so happy to know we got to the step of applying the polyurethane because I knew it meant we were almost done. I wiped the railing stain with a damp cloth, applied a coat of poly with a brush, allowed it to dry for 24 hours, sanded with a 220 grit, applied a second coat, and allowed it to dry another 24 hours.

For the final sanding or buffing, I used an extra fine steel wool after the last 24 hours of dry time. This was a huge relieve because it meant I was done with the staining and next was the painting portion of our project.

When it was time for prepping for the painting, I first used a shellac primer by Zinsser. I love this stuff and have used it for many other projects. It truly blocks stains and provides a smooth finished look.

PEOPLE! I had no idea how great this type of paint was until I consulted with Sherwin Williams. I used Incredible White (in my option, the most beautiful white evaaaa 🙌🏻) in an Emerald interior finish at a whopping $95 a gallon and worth every penny! Thank God I only needed one gallon 😂 Anyway, this paint is also a stain blocker, has a smooth finish, has exceptional coverage and dries hard over time, which makes your project look as if it was an original finish. This is Sherwin Williams finest paint and I wish I would’ve known about it when I painted my kitchen cabinets. Want to know something else I found out, this Emerald finish paint was used to paint the most recent refurbishing project of painting the Hollywood sign 😳

🙌🏻🙌🏻🙌🏻 And it’s finished thank God, 3 weeks of our lives was spent on this project and it was truly a labor of love and we are so happy with the transformation! My poor husband had the job of doing all the dirty work, in my opinion. He cleaned, taped, helped sand, tons and in the most tightest areas, he was just so great!!!

H

