
Looking under the right-side cabinet: This is a scrap “standoff” of 1×2 about 4″ long. I attached to the bottom of the cabinet (Particle board) with 1-1/4″ x No. 6 drywall screws. I did this for both sides. I pre-drilled the holes in every wood piece to avoid splitting.

Next I made a “Ledge” about 1/2″ deep past the cabinet. This was some leftover pine about 1/2″ thick and 6″ wide. Literally scrap, from a sign I made. I used the same 1-1/4″ drywall screws to go into the standoffs installed earlier. Always pre-drill to avoid splitting the wood. Left side shown.

Next I made a “riser” about 4″ tall from a 1×6. Again I pre drilled both the ledge and the riser with a 3/32″ drill bit so the screws wouldn’t split it, going into the end of this pine it’s critical. Attach with 2 more drywall screws. Left side shown.
I made this tall enough that I can easily reach underneath the shelf to get to the window lock mechanism, but low enough I can see over it into the back yard.

I took off my ledge/riser assemblies (I left the standoffs in place) and out to the garage for a quick stain. Take them off one at a time and mark them L and R. This might save you a headache later, and make the holes you’ve already used easier to line up

Re-install the ledge and riser. I know the stain doesn’t match, but I was simply going for unobtrusive. Hopefully these cabinets will get painted this fall.

Time to measure for the width of my shelf.

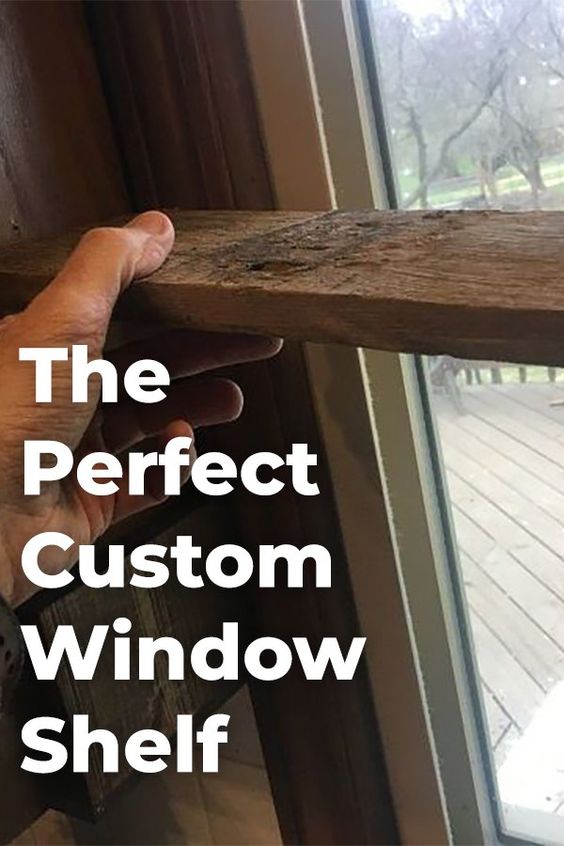
Out to the garage to cut a section of fence from my stash of reclaimed wood

I set the shelf in place and made sure all fit. We’re good to go.
Left side shown.

Here’s a completed view of the left side. You can barely see my index finger is touching the standoff. Below it the ledge, then the riser against the cabinet, and finally the shelf resting on top. I did not screw the shelf to the riser, I wanted to be able to move it when I need to clean the window, so I used adhesive-backed Velcro

Here’s a daytime view of the assembled shelf, with a locally made mug and some cactus for a test fit. Left side shown.

And here it is at night. (You can see the lights on my deck rail outside. Look for it in my other projects). The window lock is easily accesible below the shelf. Hopefully tomatoes will be growing here in a few weeks.
Comment if you have any ideas to improve this : )