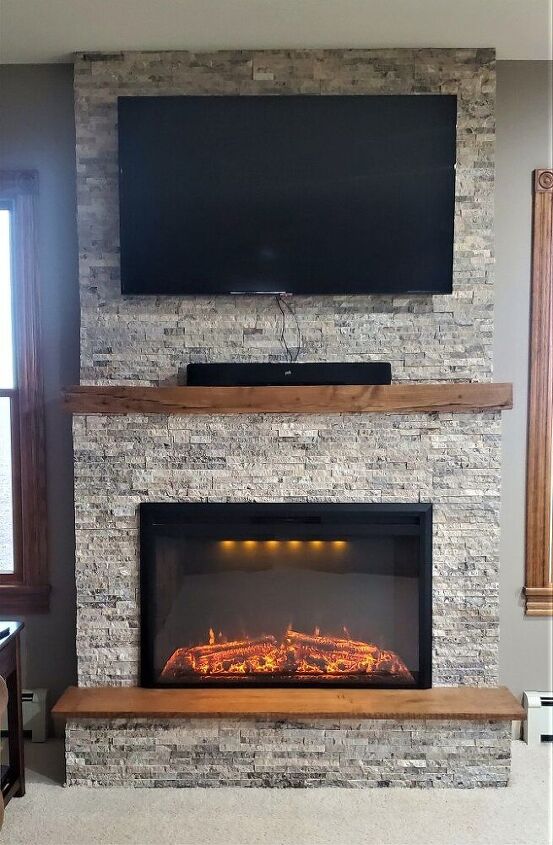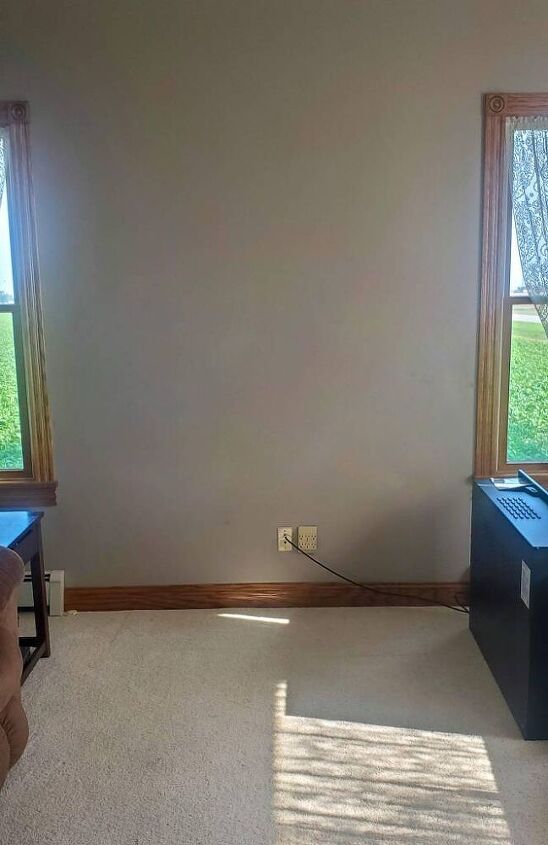
Have you ever looked at a blank space and thought that it needed something more? That was this wall. It was somewhat small with two windows and was the only place for the television to go in the room. So, naturally it seemed like the perfect place to add a fireplace.

The thought of building a fireplace might be intimidating, but if you can build a box, you can build this fireplace!
Please Head On Over To Next Page Or Open button and don’t forget to SHARE with your Facebook friends
To get started, you will need:
Materials:
- (1) 2″ x 12″ x 10′ for the hearth
- (11) 2″ x 4″ x 10′ for framing
- 1.5 sheets of 1/2″ thick 4′ x 8′ plywood
- Tile (enough to cover your size surface)
- (9) tubes of Liquid Mortar
- Oak beam for the mantle
- Salvaged wood for the hearth
- Electric Fireplace Insert
Tools:
- Drill
- Level
- Speed Square
- Circular Saw
- Tile Saw
- Caulk Gun for Liquid Mortar
Directions:
Building the base:
To begin, we figured out how much space we wanted between the windows and the new fireplace. In our case, we wanted our fireplace to be 74″ wide (this will vary depending on your space and insert). We subtracted seven inches for the sides to be build out of 2x4s as well as 2 inches for the substrate and tile.
First, we cut two 2x4s down to 64″ long. Then we attached one board horizontally to the wall studs making sure it was level and was at the height that we wanted the mantel to sit on. Next, we attached the second board to the base of the wall making sure it was in line with the first board.
Trending Videos

Then, we used 2x4s to create two identical rectangles for the sides. We made sure that they were exactly the height of our mounted board. Also, we made sure that the fireplace insert had enough clearance per the instructions. Then, the rectangle boxes were attached to wall and the existing boards to create the sides.

We then built another square out of 2x4s to fit inbetween the sides as a front. Make sure it is square before attaching it.

Building the Upper Frame:
The homeowners wanted their fireplace to go all the way to the ceiling. So, we created another box using 2x4s making sure it was securely attached in the ceiling and to the wall studs.

Next, we added some extra supports to make hanging the television easy and solid.

Framing the Insert:
Finally, it was time to frame in the fireplace insert. Be sure to follow your instructions for your fireplace. We simply attached some 2x4s to create the width we needed. Next, we added cross pieces for the insert to sit on top of.

Building the Hearth:
We were able to use just one 2×12 to create the hearth. One piece was attached on each end and then the front piece was attached.

Once the framing was done, it was finally starting to look like a fireplace.

Finishing:
Now, the next steps really depend on what you want your finished fireplace to look like. At this point you could add shiplap, paneling, etc.
We had to add a backer board since we were using tile. Our particular tile allowed plywood as a substrate. Make sure to follow the recommendations for whichever product you use.

Note: We did not wrap the hearth with plywood since the stone could adhere directly to the 2×12 frame.
We used a tile saw to cut the tile to the lengths we needed and used the caulk gun to apply the liquid mortar to the backs of the tile. This process was faster, cleaner and easier than having to use traditional mortar.


We sat an old barn beam on the base frame to create a mantle and the hearth top was some reclaimed barnwood that we sanded and stained. They were attached with glue and screws.


I love the transformation!!! I hope this gives you the confidence to try it too!

