Who doesn’t love a vintage red truck filled with Christmas trees.
Tag along as I transform a silver tray into a Christmas show stopper.
Let’s get started…

I found this tray roadside! A neighbor put out several items they wanted to get rid of. Luckily he was outside when I was routing through all the items left for the taking so I was able to thank him. It was a thrift flipper’s dream.
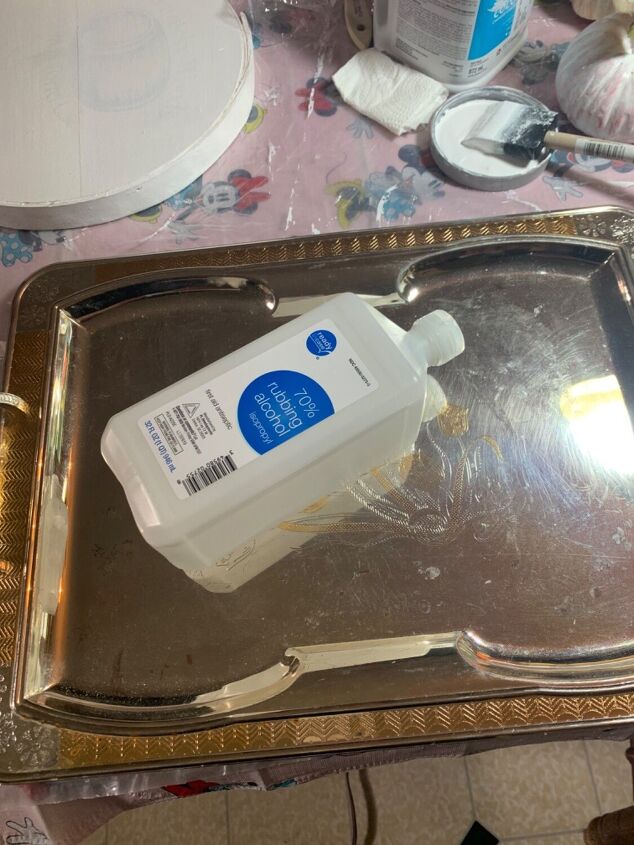
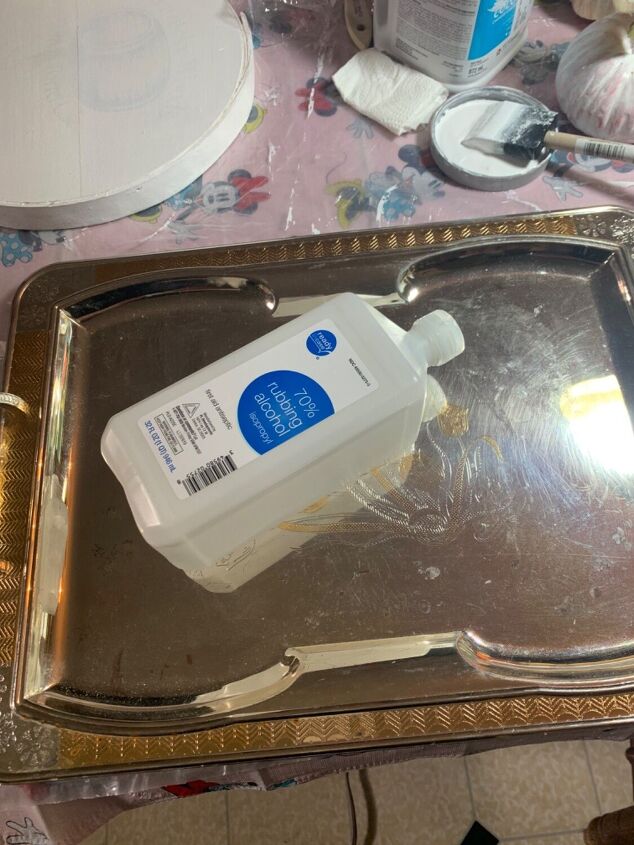
Step one- clean the tray with rubbing alcohol.

Here is a close up so you can see all the details on this beauty.
Trending videos

Next step is two coats of white chalk paint. I decided not to paint the bottom side. Look at the detailed handle on this tray!
Please Head On Over To Next Page Or Open button and don’t forget to SHARE with your Facebook friends

Another close up.

Once everything was totally dry I took sandpaper to distress the edges and bring out all that beautiful detail.

Now you can really see all the prettiness!
Next step- seal it in with a liquid finish like Polycrylic. I need the chalk paint to stay put.

So here is my idea. I have this wonderfully beautiful Iron Orchid Design (IOD) transfer. Transfers are a really neat way to elevate any thrift flip. IOD transfers are particularly beautiful.
To balance out the design I came up with the wording “Oh Christmas Tree”. I designed it on my computer and then used my cutting machine to make my own stencil. I use cheap shelf liner as my stencil material.

Transfers have a bottom sheet. The image is actually stuck to the top carrier sheet. I just peel of the bottom sheet. Place the image where I want it and use a stick over the top page and start rubbing the image onto the tray. Once I remove the carrier sheet I use it to burnish the image on by rubbing over it.

I push down the stencil using a tennis ball. Then I usually put mod podge over my stencil before the paint. This way if any seeps under the stencil it will be clear and not the black paint. I pounce on the paint with a somewhat dry sponge brush. A very wet brush is asking for trouble. I peel up the stencil while the paint is still wet. Now I’ll wait a few minutes for the rest to dry before removing the inside pieces.

I use a sandpaper block to lightly distress the image and wording. Then I dry brush on a very very light layer of white paint using a chip brush.

I seal the entire piece with my go to liquid finish Polycrylic.
And there you have it. How pretty will this look in your home this holiday season.

I love adding Christmas bows to anything with handles. It’s an extra little touch that can make all the difference.

