
On a trip to San Diego , I came across a home a block from the beach that had a beautiful tall horizontal fence . It’s beauty captured my attention and I knew I wanted to replicate something similar for my home . I went to The Home Depot and purchased 2×4’s and started the process .The original fence we had had large gaps and I could see neighbors walk by as I was in my yard. I wanted to make a nice seating area where we could enjoy some family time and have it be as private as court be. Let me show you what I did to a corner of my yard.”♥️

Step 1: Cut your boards
The very first thing I did was cut each of my 2×4’s ( Douglas For) into 4 equal parts .
Step 2: Sand the boards
It must have taken me a few days to sand each individual board , but sanding is important . Some boards have really rough edges and if you want your stain or paint to go on easily and have a great finish to it , you sand your heart out 😂. I think I ended up sanding about 198 pieces of wood.
I figured that I was going to need to make 6 panels to the areas in my yard I wanted to cover. Each panel would consist of 33 boards and the separation between each board would be 0.25 inches.

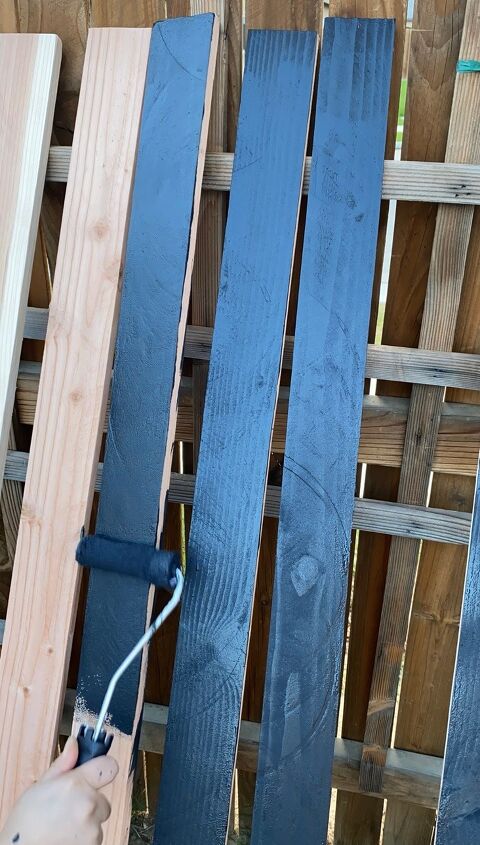
Step 3: Stain the boards
I would say that I almost got to the point of despising staining . 198 boards. All 6 sides of each board had to be stained so that I can be satisfied with the finish. Sometimes you have to take some time off from a project because some parts are draining , but I pushed through!
Please Head On Over To Next Page Or Open button and don’t forget to SHARE with your Facebook friends