
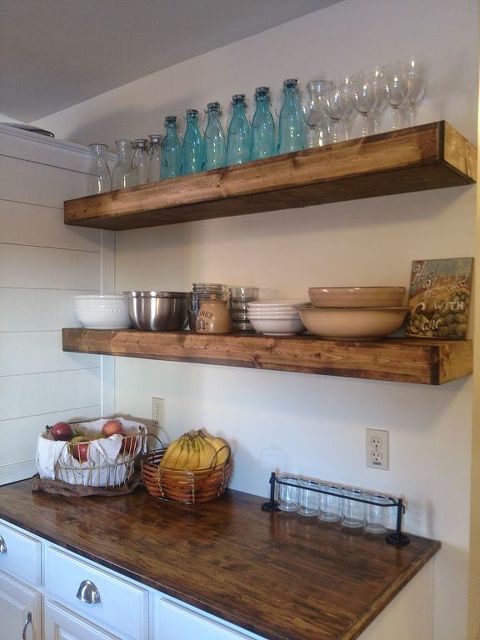
$20 DIY Floating Shelves

The brackets are then attached to studs using a level. You don’t want sloped shelves! I used 3″ wood screws to attach to the studs.

Using glue and brad nails, attach the top- mine is a 1″ x 10″, and the bottom- 1/4″ plywood.

Finish up with the front and side pieces of trim using glue and a brad nailer. Then fill all holes with stainable wood putty, wiping off the excess with a wet cloth. Make sure you use stainable or you’ll have polka dot shelves once they’re stained.

Once the wood putty is dry, sand down all putty, edges and corners. I like mine to be nice and rounded for the more worn look.

Tape off the edges with the hope that stain will not splatter on your wall. Of course mine did, it never fails.. Using a foam brush, apply the stain (I used Minwax Provincial) and make sure you wipe off the excess after a couple minutes or you’ll get gooey shelves.

These shelves were faster to build than dinner and a movie and cheaper too.